
Your basement is one of the most vulnerable areas in your home during heavy rainfall or rapid snowmelt. Acting as your first line of defence against costly flooding and structural moisture damage, a reliable sump pump is essential for every homeowner. However, waiting for a major storm to hit is the absolute worst time to find out your system isn’t functioning.
At Supreme Basements, we want to ensure your home stays dry year-round. Regular testing takes only a few minutes and gives you total peace of mind. Here is a step-by-step guide to testing your pump properly, along with signs that you might need professional intervention.
4 Easy Steps to Test Your Sump Pump
Testing your sump pump is a simple DIY task you should do at least every three to six months. Follow these steps to ensure your pump is operational:
- Inspect the Power Source & Cord
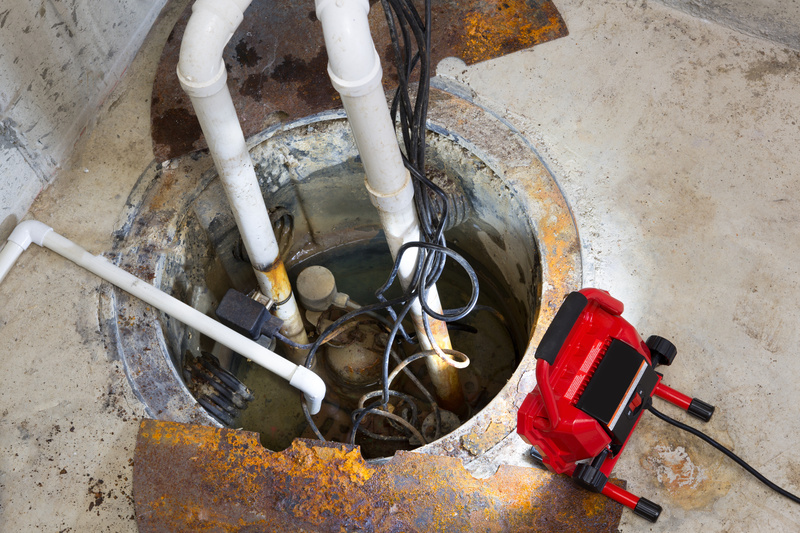
Start by locating the sump pit. Ensure the power cord is securely plugged into a Ground Fault Circuit Interrupter (GFCI) outlet. Avoid using extension cords, as they can fail or overheat. Also, check that the electrical cord hasn’t frayed or come into contact with water inside the pit. - Clear Debris from the Basin
Remove the basin lid and look inside. Over time, mud, gravel, and small debris can collect in the pit. Remove any visible blockages or trash that could jam the float switch or clog the intake screen. - Perform the “Bucket Test”
The most reliable way to simulate heavy rainfall is by pouring a 5-gallon bucket of water directly into the sump pit. Slowly fill the pit until the float switch rises.- What should happen: As the float switch reaches its trigger point, the motor should automatically engage, pump the water out smoothly, and shut off once the water level drops.
- Verify Outside Discharge
Step outside while the pump is running to inspect the exterior discharge pipe. Make sure water is flowing freely away from your home’s foundation. Clear away any leaves, dirt, or ice blocking the exit point.
Warning Signs Your System Needs Attention
If your pump failed the bucket test or exhibited any of the following red flags, immediate action is required:
- Strange Noises: Excessive grinding, rattling, or thumping indicates worn-out bearings, a jammed impeller, or damaged mechanical parts.
- Continuous Running: If the motor runs nonstop regardless of water levels, you likely have a stuck float switch or a malfunctioning check valve.
- Infrequent Operation: An aging unit that hasn’t run in years can lock up, leaving your basement at risk when the next big storm arrives.
- Visible Rust or Corrosion: Chemical buildup or rust weakens the motor housing, leading to electrical shorts.
When DIY troubleshooting isn’t enough, timely sump pump repair is crucial to prevent sudden system failure and basement flooding.
When to Consider Professional Sump Pump Installation
Sump pumps typically last 7 to 10 years. If your unit is approaching a decade of service, breaks down often, or fails to keep up during moderate rainfall, it is time to upgrade.
Choosing professional sump pump installation ensures your new system is sized correctly for your basement’s drainage demands, includes modern check valves, and pairs a dependable battery backup system for power outages.
Protect Your Basement with Supreme Basements
Don’t wait for a flooded basement to take action. Whether you need routine maintenance, emergency sump pump repair, or a complete sump pump installation, the experts at Supreme Basements are here to keep your foundation dry and secure.
Contact Supreme Basements today to schedule your comprehensive basement waterproofing inspection!